Setting up CryptoCat messaging service
At this tough time of surveillance from every side, it is good to have an option to securely chat with any of your friends. For this purpose, OTR was designed. OTR stands for "Off-the-record". This protocol is used to exchange encrypted payload (messages) over unencrypted channel - for example Facebook chat, ICQ, Jabber... Unfortunately none of the famous messaging services support OTR by default. Drawback of OTR is that both sides have to install some kind of plugin first.
One night my best friend wanted to tell me something "secret", so she refused to use Facebook chat. I thought about how she can write me without a worry about somebody else could see that. Then I remembered of CryptoCat project...
CryptoCat is an encrypted chat service. Main advantage is that it is using end-to-end encryption while you don`t have to install any client or plugin, because all is running in a browser window. First older version of CryptoCat (containing some various security related bugs) used PHP and JavaScript to enable exchange of messages. Because of various security reasons and to deliver some advantages of Instant Messaging (offline messages, auto reconnect...), they make a decision to rewrite whole CryptoCat. Version 2 is only a web interface in JavaScript which use separate Jabber server to exchange messages.
To simply explain how CryptoCat v2 works: user open a CryptoCat website. At this time JavaScript initiates asymetric encryption. When you send any message, it is encrypted by JavaScript in your browser. Then it is send to Jabber server (your message is leaving your computer encrypted). On the other side, message is delivered in encrypted form, decrypted by receivers JavaScript. So messages travel only in encrypted form.
For unknown reason, at least for me, some time ago they stopped to serve web based frontend for CryptoCat, which is replaced by plugins for browsers. But source code is still available at Github, so why not to serve web frontend at RPi. I have also my own instance of CryptoCat running on RPi, feel free to use it anytime you want/need :)
First we have to have installed some web server where will be the frontend accessible. For purpose of hosting static pages, NGiNX is the best choice:
apt-get install nginx
Edit NGiNX configuration file located at /etc/nginx/sites-available/default
nano /etc/nginx/sites-available/default
And paste following:
server {
listen 80;
server_name localhost:80;
rewrite ^ https://$host:443$request_uri? permanent;
}
server {
listen 443;
server_name localhost:443;
ssl on;
ssl_certificate /etc/nginx/certs/server.crt;
ssl_certificate_key /etc/nginx/certs/server.key;
location / {
root /srv/cryptocat;
index index.html index.htm;
}
location /http-bind {
proxy_buffering off;
proxy_pass http://127.0.0.1:5280/http-bind;
proxy_set_header X-Real-IP $remote_addr;
proxy_set_header X-Forwarded-For $proxy_add_x_forwarded_for;
proxy_set_header Host $http_host;
proxy_redirect off;
}
}
Now generate required certificate necessary to enable HTTPS:
mkdir /etc/nginx/certs
cd /etc/nginx/certs
openssl genrsa -des3 -out server.key 2048
openssl req -new -key server.key -out server.csr
cp server.key server.key.temp
openssl rsa -in server.key.temp -out server.key
openssl x509 -req -days 3650 -in server.csr -signkey server.key -out server.crt
rm -rf server.key.temp server.csr
chmod 600 server.crt server.key
Now install GitHub client and download (or download and untar manualy) source of CryptoCat from GitHub and place it to nginx server root directory (/srv)
apt-get install git-core
cd /tmp
git clone https://github.com/cryptocat/cryptocat.git
cp -r cryptocat/src/core /srv
chown -R www-data /srv
chgrp -R www-data /srv
And finally restart NGiNX:
/etc/init.d/nginx restart
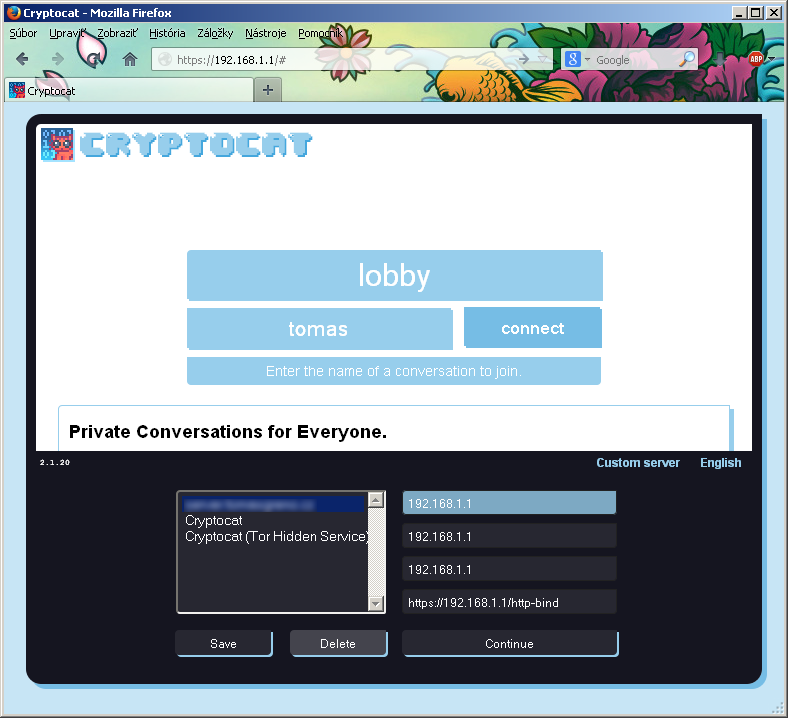
Now when you point your browser to RPi (you should be automaticaly redirected to https), you should see CryptoCat frontend. You can pick conversation name (default is "lobby", most of time is somebody there) and your username. Now you are using self-hostedweb frontend of CryptoCat but still using CryptoCat official Jabber server to deliver encrypted messages. Next step is to install own Jabber server which will be used by web frontend, so your CryptoCat will be trully yours. Install ejabberd package:
apt-get install ejabberd
Now edit ejabberd configuration file:
nano /etc/ejabberd/ejabberd.cfg
And replace default configuration with this:
%% Hostname
{hosts, ["localhost"]}.
%% Logging
{loglevel, 0}.
{listen,
[
{5222, ejabberd_c2s, [
{access, c2s}, {ip, {127, 0, 0, 1}},
{shaper, c2s_shaper},
{max_stanza_size, infinite},
%%zlib,
starttls, {certfile, "/etc/ejabberd/ejabberd.pem"}
]},
{5280, ejabberd_http, [
http_bind, {ip, {127, 0, 0, 1}},
http_poll
]}
]}.
{s2s_use_starttls, true}.
{s2s_certfile, "/etc/ejabberd/ejabberd.pem"}.
{auth_method, [internal, anonymous]}.
{auth_password_format, scram}.
{shaper, normal, {maxrate, 500000000}}.
{shaper, fast, {maxrate, 500000000}}.
{acl, local, {user_regexp, ""}}.
{access, max_user_sessions, [{10, all}]}.
{access, max_user_offline_messages, [{5000, admin}, {100, all}]}.
{access, c2s, [{deny, blocked},
{allow, all}]}.
{access, c2s_shaper, [{none, admin},
{normal, all}]}.
{access, s2s_shaper, [{fast, all}]}.
{access, announce, [{allow, admin}]}.
{access, configure, [{allow, admin}]}.
{access, muc_admin, [{allow, admin}]}.
{access, muc, [{allow, all}]}.
{access, register, [{allow, all}]}.
{registration_timeout, infinity}.
{language, "en"}.
{modules,
[
{mod_privacy, []},
{mod_ping, []},
{mod_private, []},
{mod_http_bind, []},
{mod_admin_extra, []},
{mod_muc, [
{host, "conference.@HOST@"},
{access, muc},
{access_create, muc},
{access_persistent, muc},
{access_admin, muc_admin},
{max_users, 500},
{default_room_options, [
{allow_change_subj, false},
{allow_private_messages, true},
{allow_query_users, true},
{allow_user_invites, false},
{anonymous, true},
{logging, false},
{members_by_default, false},
{members_only, false},
{moderated, false},
{password_protected, false},
{persistent, false},
{public, false},
{public_list, true}
]}
]},
{mod_register, [
{welcome_message, {"Welcome!"}},
{access, register}
]}
]}.
And one last thing, add a cron job to remove old, unused accounts. ejabberd have to create account for everybody who connects (don`t worry, usernames are also encrypted). It is good idea to remove unused accounts at least once a week, to prevent unnecessarily excesive sizes of user database:
crontab -e
Add this line to remove unused accounts at 01:10 every tuesday:
10 1 * * 2 ejabberdctl delete-old-users 1
Close file, save changes and now you can restart ejabberd service...
/etc/init.d/ejabberd restart
...and try to connect from your web frontend to your jabber server.
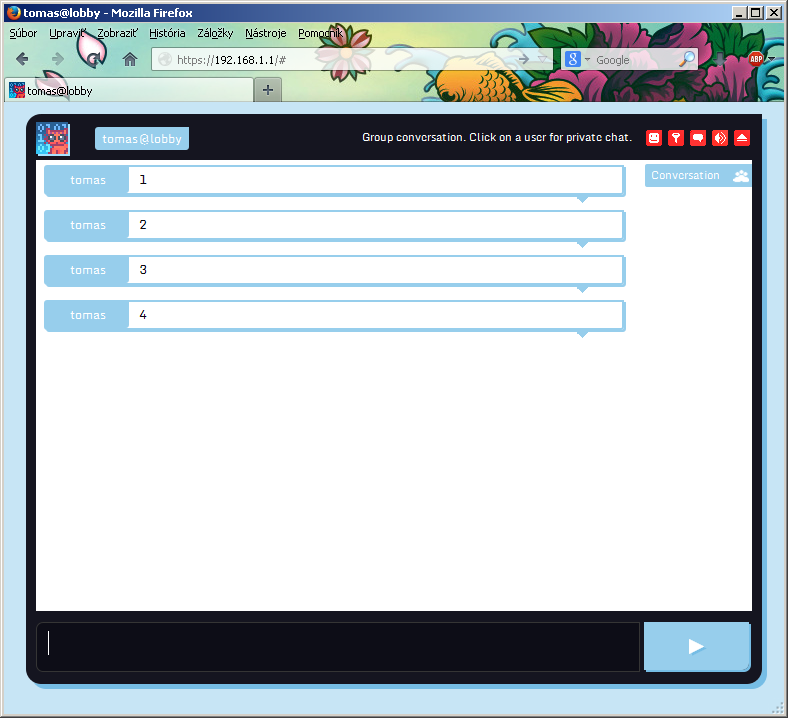
Of course, don`t forget to change IP addresses to yours. After a few seconds you should be connected and able to send messages. As you can see you can add own default server to your CryptoCat servers list.
To force your CryptoCat frontend to connect to your server, edit three CryptoCat files
nano /srv/cryptocat/js/cryptocat.js
And at the beggining of file add this:
/* Configuration */
// Domain name to connect to for XMPP.
var defaultDomain = '192.168.1.1'
// Address of the XMPP MUC server.
var defaultConferenceServer = '192.168.1.1'
// BOSH is served over an HTTPS proxy for better security and availability.
var defaultRelay = 'https://192.168.1.1/http-bind/'
And second file:
nano /srv/cryptocat/js/etc/xmpp.js
Inside this file search for following lines and change them accordingly:
Cryptocat.xmpp.defaultDomain = '192.168.1.1'
Cryptocat.xmpp.defaultConferenceServer = '192.168.1.1'
Cryptocat.xmpp.defaultRelay = 'https://192.168.1.1/http-bind'
The third file contain list entries in web frontend. Changes here are very individual, so i can not exactly describe them here. List entries definition starts at line 15. If you don`t know how to set them, contact me, I will try to help you :)
nano /srv/cryptocat/js/etc/customServers.js
Now you can try if everything works as you intended.

